Hey there! As a current sensor supplier, I often get asked about how to calibrate a current sensor. Calibration is a crucial step to ensure that your current sensor provides accurate and reliable measurements. In this blog post, I'll walk you through the process of calibrating a current sensor, sharing some tips and best practices along the way.
Why Calibration Matters
Before we dive into the calibration process, let's quickly talk about why calibration is so important. A current sensor is designed to measure the electrical current flowing through a conductor. However, factors like temperature, aging, and manufacturing tolerances can cause the sensor's output to deviate from the actual current value. Calibration helps to correct these deviations, ensuring that the sensor provides accurate measurements.

Accurate current measurements are essential in a wide range of applications, from industrial automation and power management to renewable energy systems and electric vehicle charging. Inaccurate measurements can lead to incorrect control decisions, inefficient operation, and even safety hazards. By calibrating your current sensor regularly, you can minimize these risks and ensure the optimal performance of your system.
What You'll Need
To calibrate a current sensor, you'll need a few tools and equipment:
- Known Current Source: You'll need a reliable source of known current to provide a reference for calibration. This can be a calibrated current generator or a power supply with a known current output.
- Multimeter: A multimeter is used to measure the output voltage of the current sensor. Make sure your multimeter is calibrated and accurate.
- Data Logger (Optional): If you need to record the calibration data over time, a data logger can be a useful tool. It allows you to monitor the sensor's performance and detect any drift or changes in the calibration.
- Calibration Software (Optional): Some current sensors come with calibration software that simplifies the calibration process. Check if your sensor has this feature and use it if available.
The Calibration Process
Now that you have everything you need, let's walk through the calibration process step by step:
Step 1: Prepare the Sensor
Before you start calibrating the current sensor, make sure it is properly installed and connected. Check the sensor's datasheet for the recommended installation and wiring instructions. Ensure that the sensor is in a stable environment with minimal electromagnetic interference.
Step 2: Set Up the Known Current Source
Connect the known current source to the conductor through which the current will flow. Make sure the connection is secure and the current source is set to the desired calibration current value. It's a good idea to start with a low current value and gradually increase it to the maximum rated current of the sensor.
Step 3: Measure the Output Voltage
Use the multimeter to measure the output voltage of the current sensor at each calibration current value. Make sure to record the current value and the corresponding output voltage for each measurement. You may need to take multiple measurements at each current value to ensure accuracy.
Step 4: Calculate the Calibration Factor
The calibration factor is the ratio of the actual current to the output voltage of the sensor. To calculate the calibration factor, divide the known current value by the measured output voltage at each calibration point. Take the average of these calibration factors to get the overall calibration factor for the sensor.
Step 5: Adjust the Sensor Output
Once you have calculated the calibration factor, you can use it to adjust the output of the current sensor. Most current sensors have a calibration adjustment mechanism, such as a potentiometer or a digital calibration register. Use this mechanism to adjust the sensor's output so that it matches the actual current value.
Step 6: Verify the Calibration
After adjusting the sensor output, verify the calibration by measuring the output voltage at a few different current values. Compare the measured output voltage with the expected output voltage based on the calibration factor. If the measured values are within the acceptable tolerance range, the calibration is successful. If not, repeat the calibration process until the desired accuracy is achieved.
Tips and Best Practices
Here are some tips and best practices to keep in mind when calibrating a current sensor:
- Follow the Manufacturer's Instructions: Always refer to the sensor's datasheet and the manufacturer's instructions for the specific calibration procedure. Different sensors may have different calibration requirements and methods.
- Use High-Quality Equipment: Use high-quality calibration equipment, such as a calibrated current generator and a precision multimeter, to ensure accurate measurements.
- Calibrate Regularly: Current sensors can drift over time due to factors like temperature, aging, and environmental conditions. It's recommended to calibrate your sensors regularly to maintain their accuracy.
- Record the Calibration Data: Keep a record of the calibration data, including the calibration date, the calibration factor, and the measured output voltage at each calibration point. This information can be useful for future reference and troubleshooting.
- Seek Professional Help if Needed: If you're unsure about the calibration process or if you encounter any problems, don't hesitate to seek professional help. A qualified technician or engineer can assist you with the calibration and ensure that your sensors are calibrated correctly.
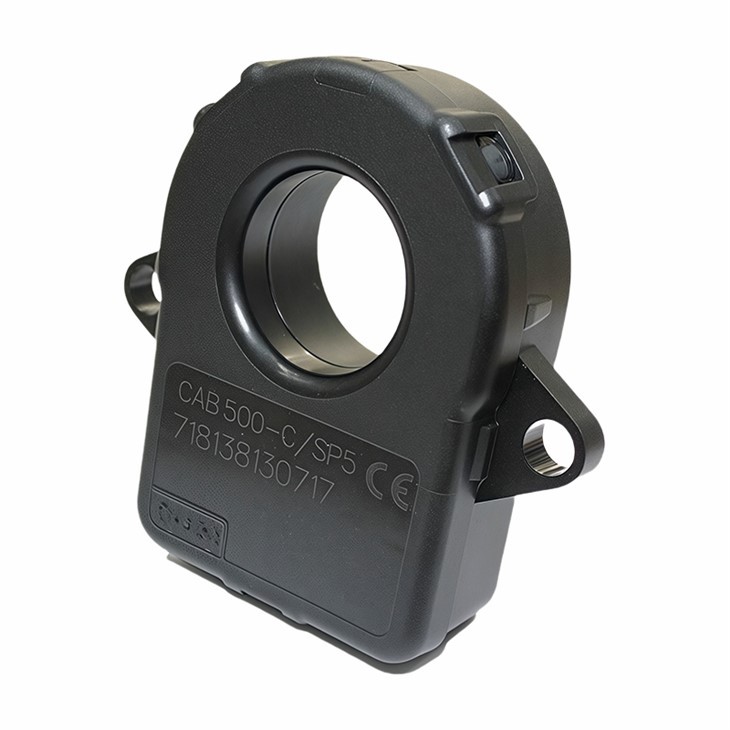
Example: Calibrating the LEM CAB500C 12V CAB500 Current Sensor
Let's take a look at an example of calibrating the LEM CAB500C 12V CAB500 Current Sensor. This sensor is a popular choice for measuring high currents in industrial and automotive applications.
- Prepare the Sensor: Install the LEM CAB500C sensor according to the manufacturer's instructions. Connect the sensor to the conductor through which the current will flow and ensure that the wiring is correct.
- Set Up the Known Current Source: Use a calibrated current generator to provide a known current to the sensor. Start with a low current value, such as 100 A, and gradually increase it to the maximum rated current of the sensor, which is 500 A.
- Measure the Output Voltage: Use a multimeter to measure the output voltage of the sensor at each calibration current value. Record the current value and the corresponding output voltage for each measurement.
- Calculate the Calibration Factor: Divide the known current value by the measured output voltage at each calibration point. Take the average of these calibration factors to get the overall calibration factor for the sensor.
- Adjust the Sensor Output: Use the calibration adjustment mechanism on the sensor to adjust the output voltage so that it matches the actual current value. Refer to the sensor's datasheet for the specific adjustment procedure.
- Verify the Calibration: Measure the output voltage at a few different current values and compare the measured values with the expected output voltage based on the calibration factor. If the measured values are within the acceptable tolerance range, the calibration is successful.
Conclusion
Calibrating a current sensor is an important step to ensure accurate and reliable measurements. By following the steps outlined in this blog post and using the tips and best practices, you can calibrate your current sensors with confidence. Remember to calibrate your sensors regularly to maintain their accuracy and performance.
If you're in the market for a high-quality current sensor or need assistance with calibration, feel free to reach out to us. We're a leading current sensor supplier with a wide range of products and expertise to meet your needs. Contact us today to discuss your requirements and explore our product offerings.
References
- Manufacturer's datasheets for current sensors
- Industry standards and guidelines for current sensor calibration